Hello World!
If you’ve read any of my other posts, you have no doubt figured out, that I am a Cisco guy. Cisco’s products have kept me gainfully employed for many years (and hopefully for many years to come). I enjoy their technology but I also know they aren’t the only game in town. I am also painfully aware of what it costs to play their game.
The Problem
Recently, my home network/lab Cisco ASA 5506-x died. This was a long expected outcome from a hardware clock malfunction that Cisco discovered a few years ago, you can read more about it here: https://www.cisco.com/c/en/us/support/web/clock-signal.html. If you have SmartNet support on your products this is a problem, but a covered problem. If, like me, you bought your products on Amazon or Ebay, you are screwed.
The Research
When the 5506-x died, I considered buying a Cisco Next Generation Firewall (NGFW) as a replacement (the 1010 would probably work). I’m not made of money and the thought of paying $800 on the gray market (or even from CDW) had me less than excited. I also considered buying a Sonic Wall, Juniper, or Palo Alto appliance but I don’t have support contacts/contracts for those brands and I want to be able to patch them (this is not a problem with Cisco). I then considered building an Endian or PfSense firewall but by the time I got the right appliance I would be out as much money as the Cisco option discussed above. With my home internet speed being over 100Mbps, I was going to need a very powerful box. In case you are wondering what it takes to build a custom firewall, please see this link for sizing guidelines: https://www.firewallhardware.it/en/firewall-hardware-sizing-guide/. I was quickly running out of viable and reasonably professional options. It was then that I looked at my wall and found one more.

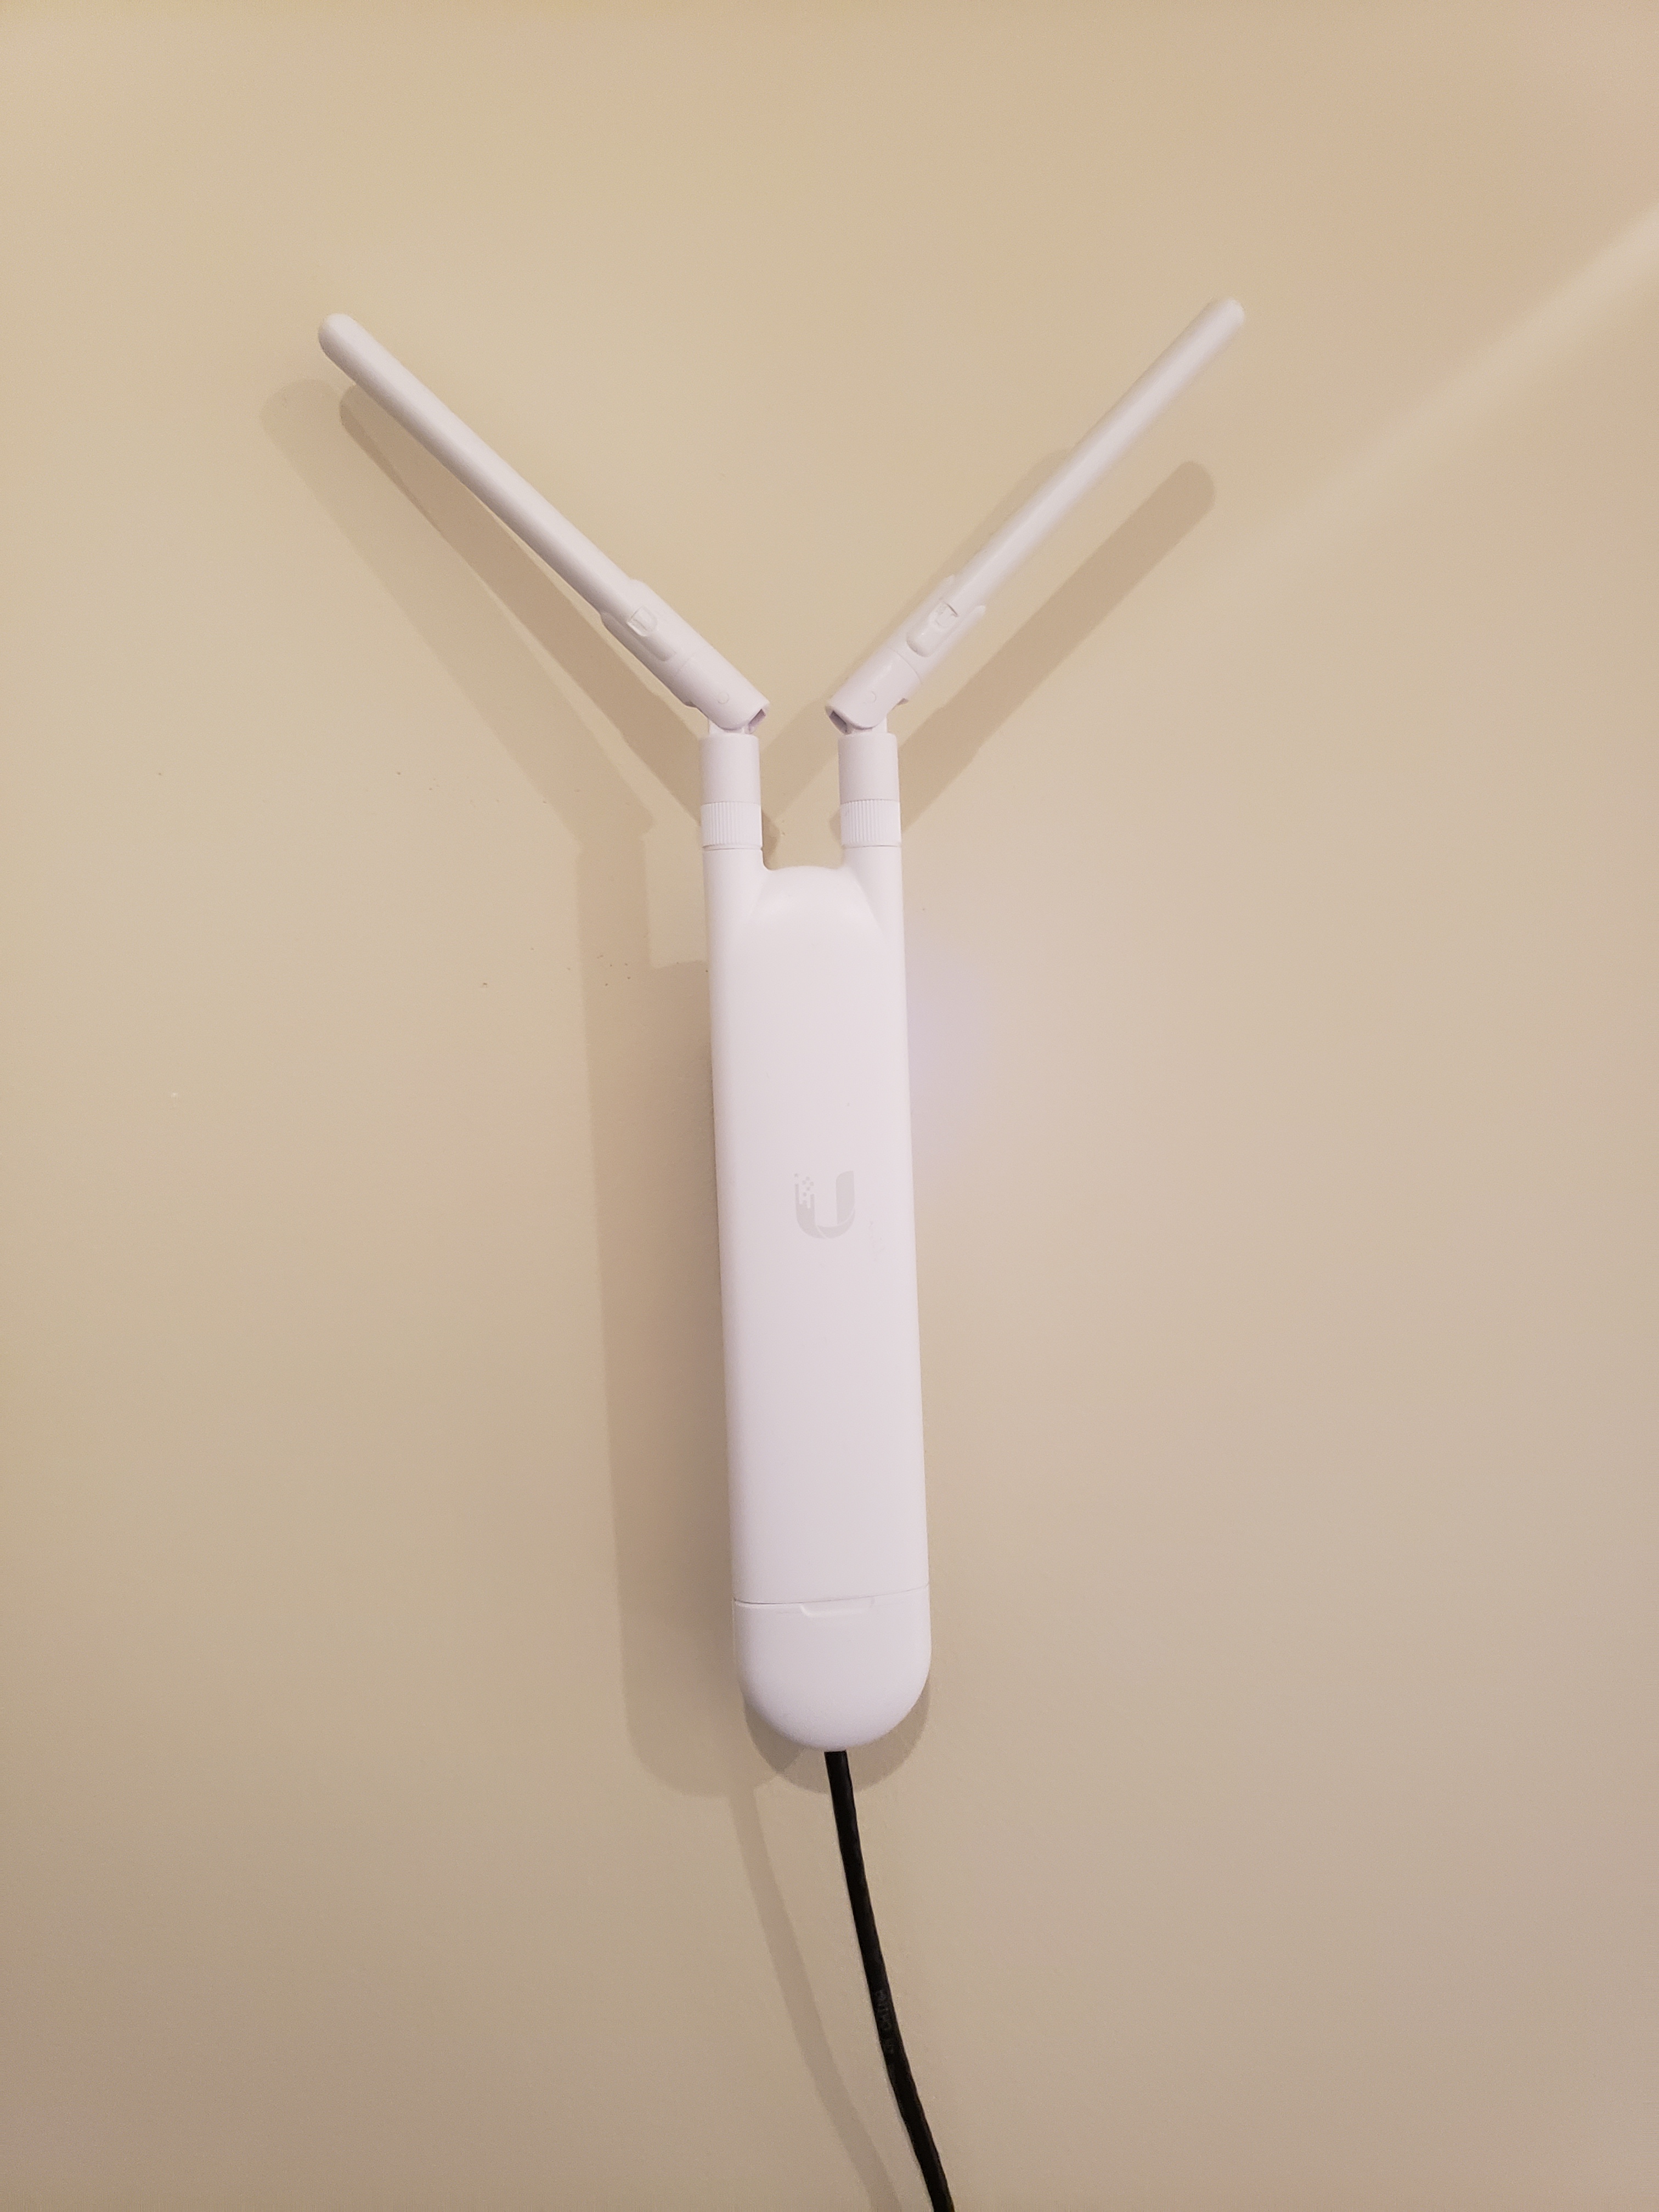
I started using Ubiquiti’s Unifi wireless access points a couple of years ago for a family business. I was impressed by the hardware and actually really liked the controller software as well. Being able to extend SSIDs across multiple access points without giving up backhaul bandwidth (assuming you have LAN drops where you need them) is a professional feature and one that I take advantage of often. Consumer grade multi-unit systems dedicate channels (and thus a portion of total throughput) to the backhaul communication between the “access points” and the base station. I also like the Ubiquiti price. The 802.11ac access point above, was $99 on Amazon. When it came time to put access points in my home the Ubiquiti option was an easy choice to make.
“If their access points are great, maybe I should give their firewalls a try.”
The Decision
The Unifi Security Gateway (USG) is a powerful platform. The architecture follows the versatile Edge architecture that Ubiquiti was originally known for. While the Edge platform devices have individual web interfaces and operate autonomously, the USG registers to and is managed by the Unifi Controller. Luckily, the USG does still include SSH/Console access to the powerful Ubiquiti CLI. The CLI is a cross between Unix, BSD, and Cisco’s IOS but once you understand it, it is very useful.
There are currently three (3) models of the security gateway available…
- USG
- 3 1G ports
- $138 + shipping on Ubiquiti Store
- USG‑PRO‑4
- 4 1G ports (2 with dual-personality SFP ports)
- $344 + shipping on Ubiquiti Store
- USG-XG-8
- 8 10G SFP+ ports
- $2,499 + shipping on Ubiquiti Store
I chose the USG. Small but mighty! Price aside, this little box will handle more bandwidth than I can currently throw at it*. With that said, the price is nice too.

*This is without IPS (currently beta) enabled. If you enable IPS the hardware offload is turned off and all packets are processed via software. This limits the throughput of each device as follows…
- USG: 85Mbps
- USG-Pro-4: 250Mbps
- USG-XG-8: 1Gbps
With the above numbers, I will probably be replacing my USG with a USG-Pro-4 (or whatever the next generation option is) in a few months. I want to take advantage of the IPS functionality but don’t want to limit my Internet bandwidth. Currently, this is a minor concern.
The Configuration
Setting up the USG took more time than you might expect. Part of this was my architecture; Ubiquiti likes their routing devices (the USG in this case) to be the end-all/be-all Layer 3 device in the network. In my network, that is not the case. I traditionally run my firewalls in transparent mode and use a Layer 3 “core” switch to handle the inter-vlan routing and segregation of traffic. I want the firewall to terminate the WAN/Internet connection and secure the connection as well as handle the NAT/PAT responsibilities but I want it to end there. My logical configuration is laid out in the image below.

As you can see from the logical diagram above, my USG sits in the “normal” firewall position between the provider NIU and my LAN. I am handling all VLAN routing and inter-VLAN routing on the 3750x. On the switch I have a static default-route pointing at 10.10.0.230 (the LAN IP of the USG) (shown below).
ip route 0.0.0.0 0.0.0.0 10.10.0.230
In the USG I have routes going back to the my 3750x (10.10.0.254) for the networks configured there (shown below).
static {
        route 10.10.10.0/24 {
            next-hop 10.10.0.254 {
                distance 1
            }
        }
        route 10.10.30.0/24 {
            next-hop 10.10.0.254 {
                distance 1
            }
        }
        route 10.10.100.0/24 {
            next-hop 10.10.0.254 {
                distance 1
            }
Finally I have a NAT rule in the USG allowing everything that goes out of eth0 (WAN) to be source NAT’d accordingly (shown below). This works well as I have a DHCP connection from my ISP.
rule   type  intf     translation
----   ----  ----     -----------
6001   MASQ  eth0     saddr ANY to X.X.X.X
    proto-all         sport ANY
Conclusion
I admit it is still early (as I’ve only had the USG in place for about a week), but I am impressed by that little box. No loss in throughput and I enjoy having the Internet statistics on my Unifi mobile application. The USG wasn’t my first choice but the more I do with it the more I am convinced it was the right choice for my environment.
Below are a few quick additions that I didn’t get to cover in this post, I plan on adding posts for these features later…
- NAT/PAT for Cisco Unified Border Element (CUBE)
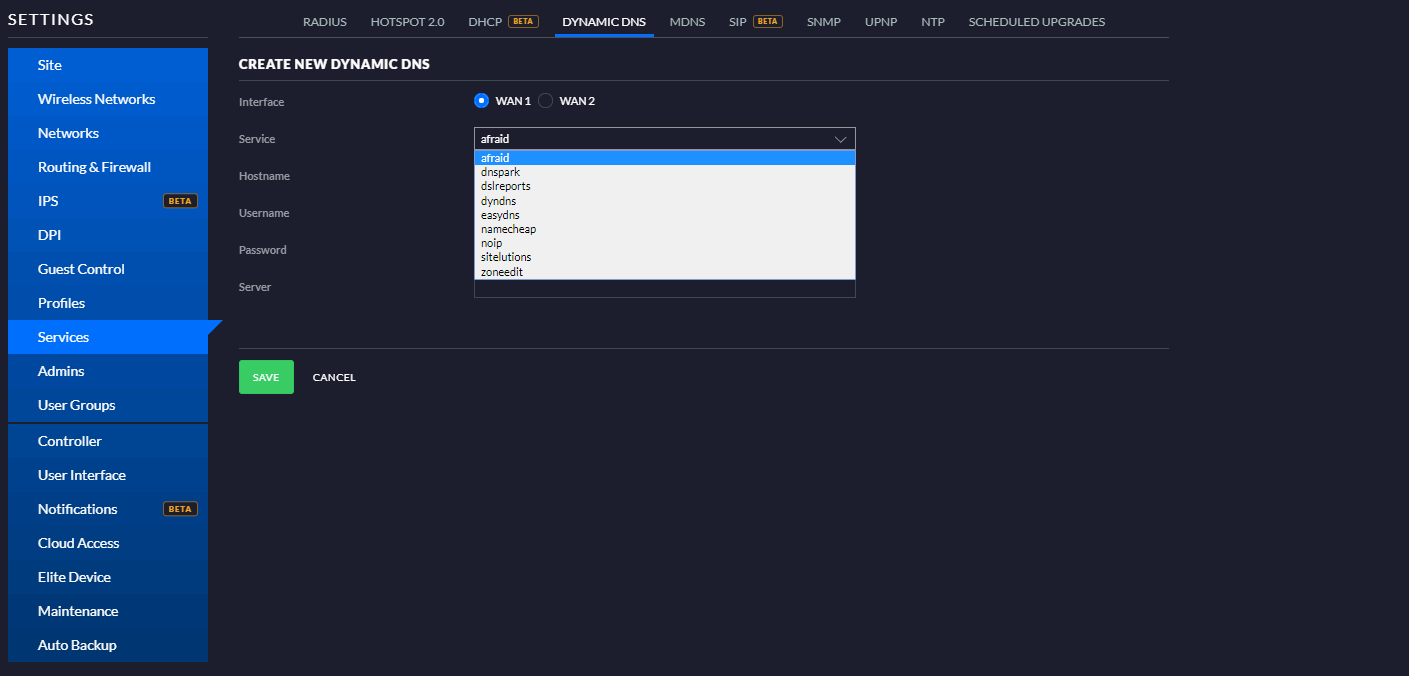
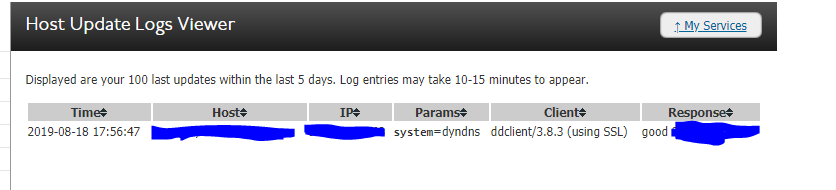
- Dynamic DNS (DynDNS) native integration
- Quick and Easy VPN Client configuration
-Justin